GK LB LCB RCB RB DM LCM RCM LW ST RW ‹ ▶ Play Step 1 of 3 ›
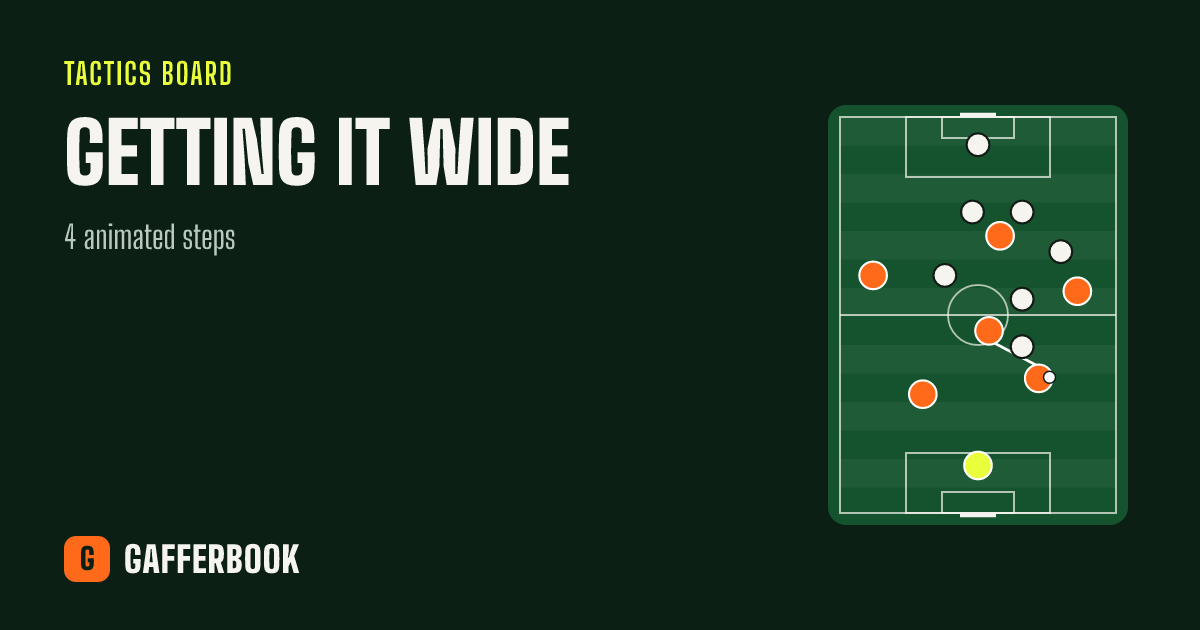
We bring five players to the left. Their whole team has shifted across. Our right winger waits wide, alone.
Drawn for 11v11 4-3-3. Pick your own format and shape and every step is redrawn for your players. Then present it or send it to your team.
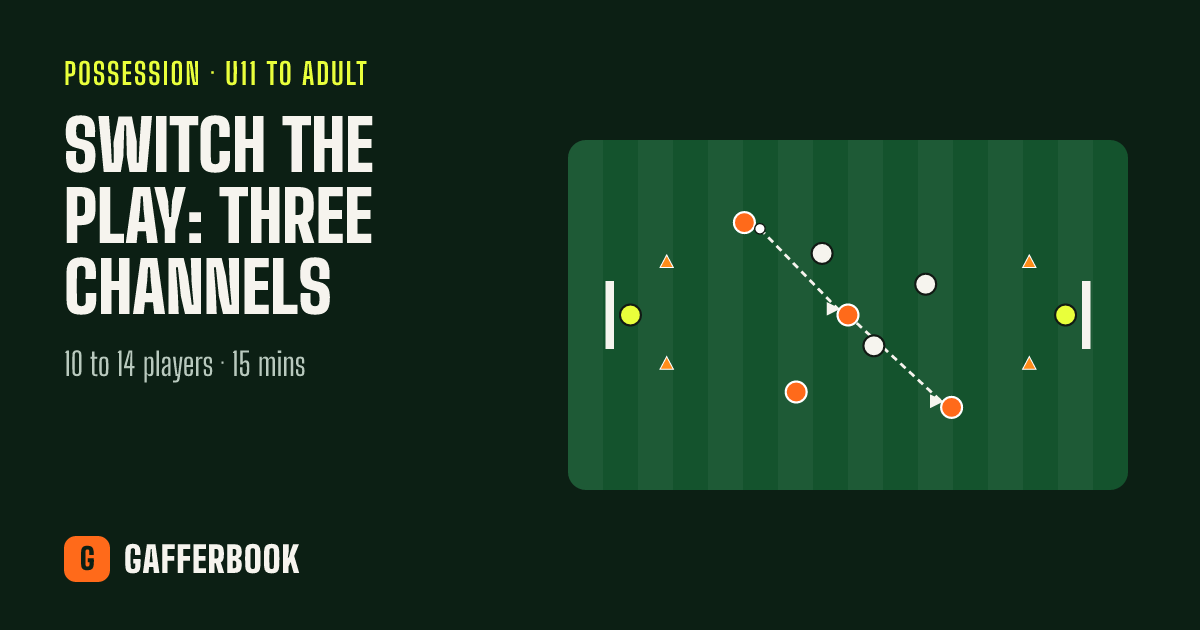
Step by step We bring five players to the left. Their whole team has shifted across. Our right winger waits wide, alone. Keep it there, then back inside to the 6 to switch. Switch, quickly. Our winger is one against one with space to attack. When to use it When you have a winger who wins 1v1s, and against teams who shift across to the ball.
Coaching points Bring extra players to one side: full-back, 8, winger, even the striker drifting. Keep the ball there long enough to draw their defenders across. Your best 1v1 player stays wide on the far side, patient. Switch quickly, in one long pass or two short ones. Give the isolated winger space: nobody runs into their area. Who does what Position Their job Overload players Keep the ball on one side and draw them across. Isolated winger Waits wide, receives on the switch, attacks 1v1. Switcher 6 or centre-back plays the switch. Striker Attacks the near post when the winger goes.
When they change it If they… You… Their far-side full-back stays wide Their middle is short: play through it. Their winger doubles up on ours Our full-back overlaps to make it 2v2. The switch is cut out Keep a player in the middle to protect against the counter.
Common mistakes Switching too early, before their defence has moved. A slow switch with too many touches. Team-mates running into the isolated winger's space. At 7v7, 9v9 and 11v11
7v7 See the getting it wide board: the same idea with fewer players.
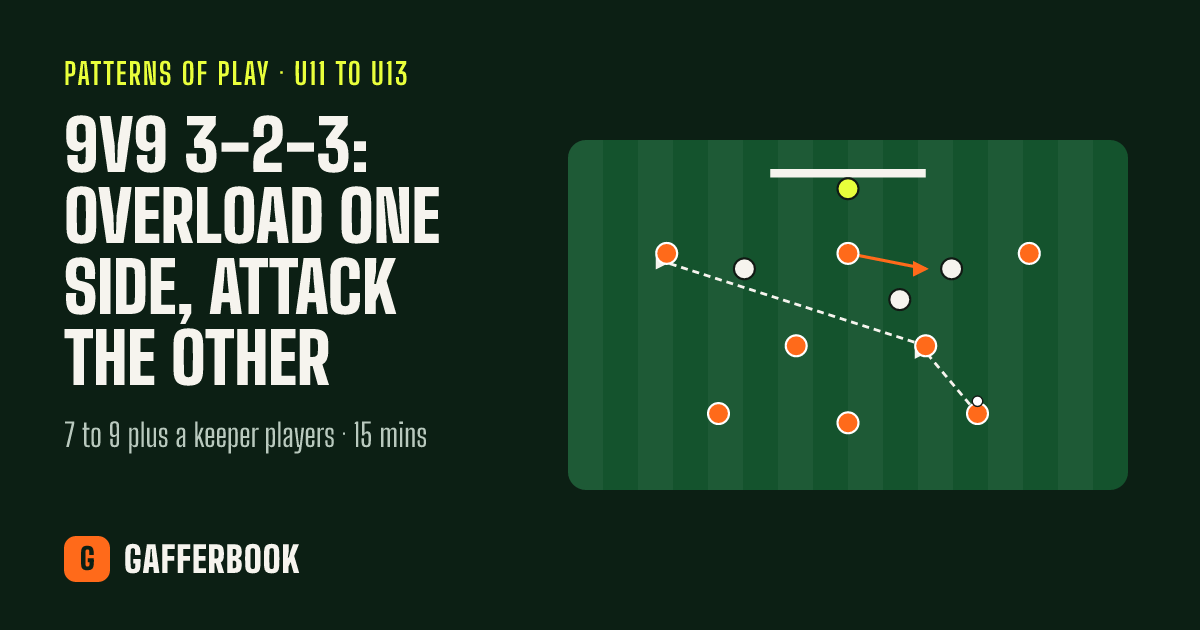
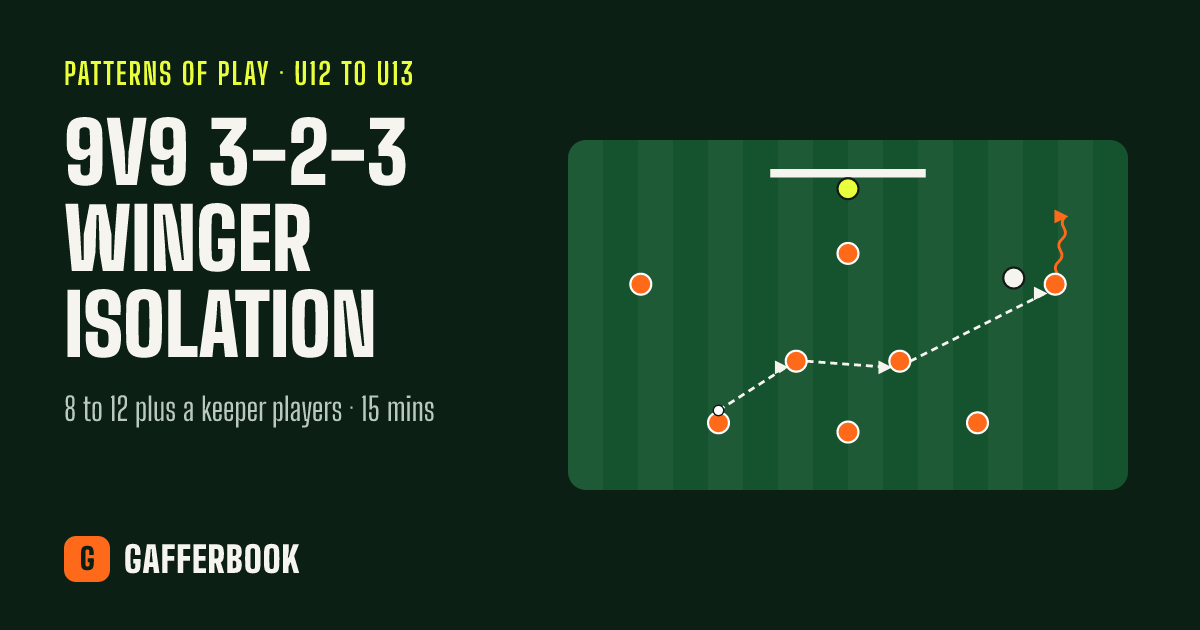
9v9 In a 3-2-3, overload one side with the wing and two midfielders, switch to the far winger.
11v11 The board: a 4-3-3 overloading the left, isolating the right winger. See the full 11v11 4-3-3 formation guide for the shape, positions and drills.
Drills to practise it Questions coaches ask What does 'overload to isolate' mean? Put more players on one side to draw the defence across, then switch to a player left one-on-one on the other side.
Who should be the isolated player? Your best one-against-one dribbler.
How long should we keep the ball on the overloaded side? Until their defence has shifted across. Then switch quickly.
More tactics boards ← All tactics boards · Formations · Drills